Choosing the right humidity dome and propagation kit is the difference between a tray of healthy young roots and a tray of wilted cuttings or stalled seedlings.
The best humidity domes do one job well: hold moisture and warmth around fragile cuttings and seedlings until they develop the root system needed to support themselves. A good propagation dome functions like a mini indoor greenhouse, humidifying and insulating the tray below it to create conditions ideal for seed germination and for cloning plants from cuttings. Get the dome wrong (too short, no vents, wrong tray size), or use it incorrectly (vents shut too long, removed too soon), and your propagation success rate drops fast.
In this guide, you will learn what actually goes into a propagation kit, which humidity dome features matter for your specific use case, how the requirements differ between cloning cuttings and starting from seed, and how to run your kit through the first three weeks without losing material.
Why Humidity Domes Matter for Cloning and Seed Starting
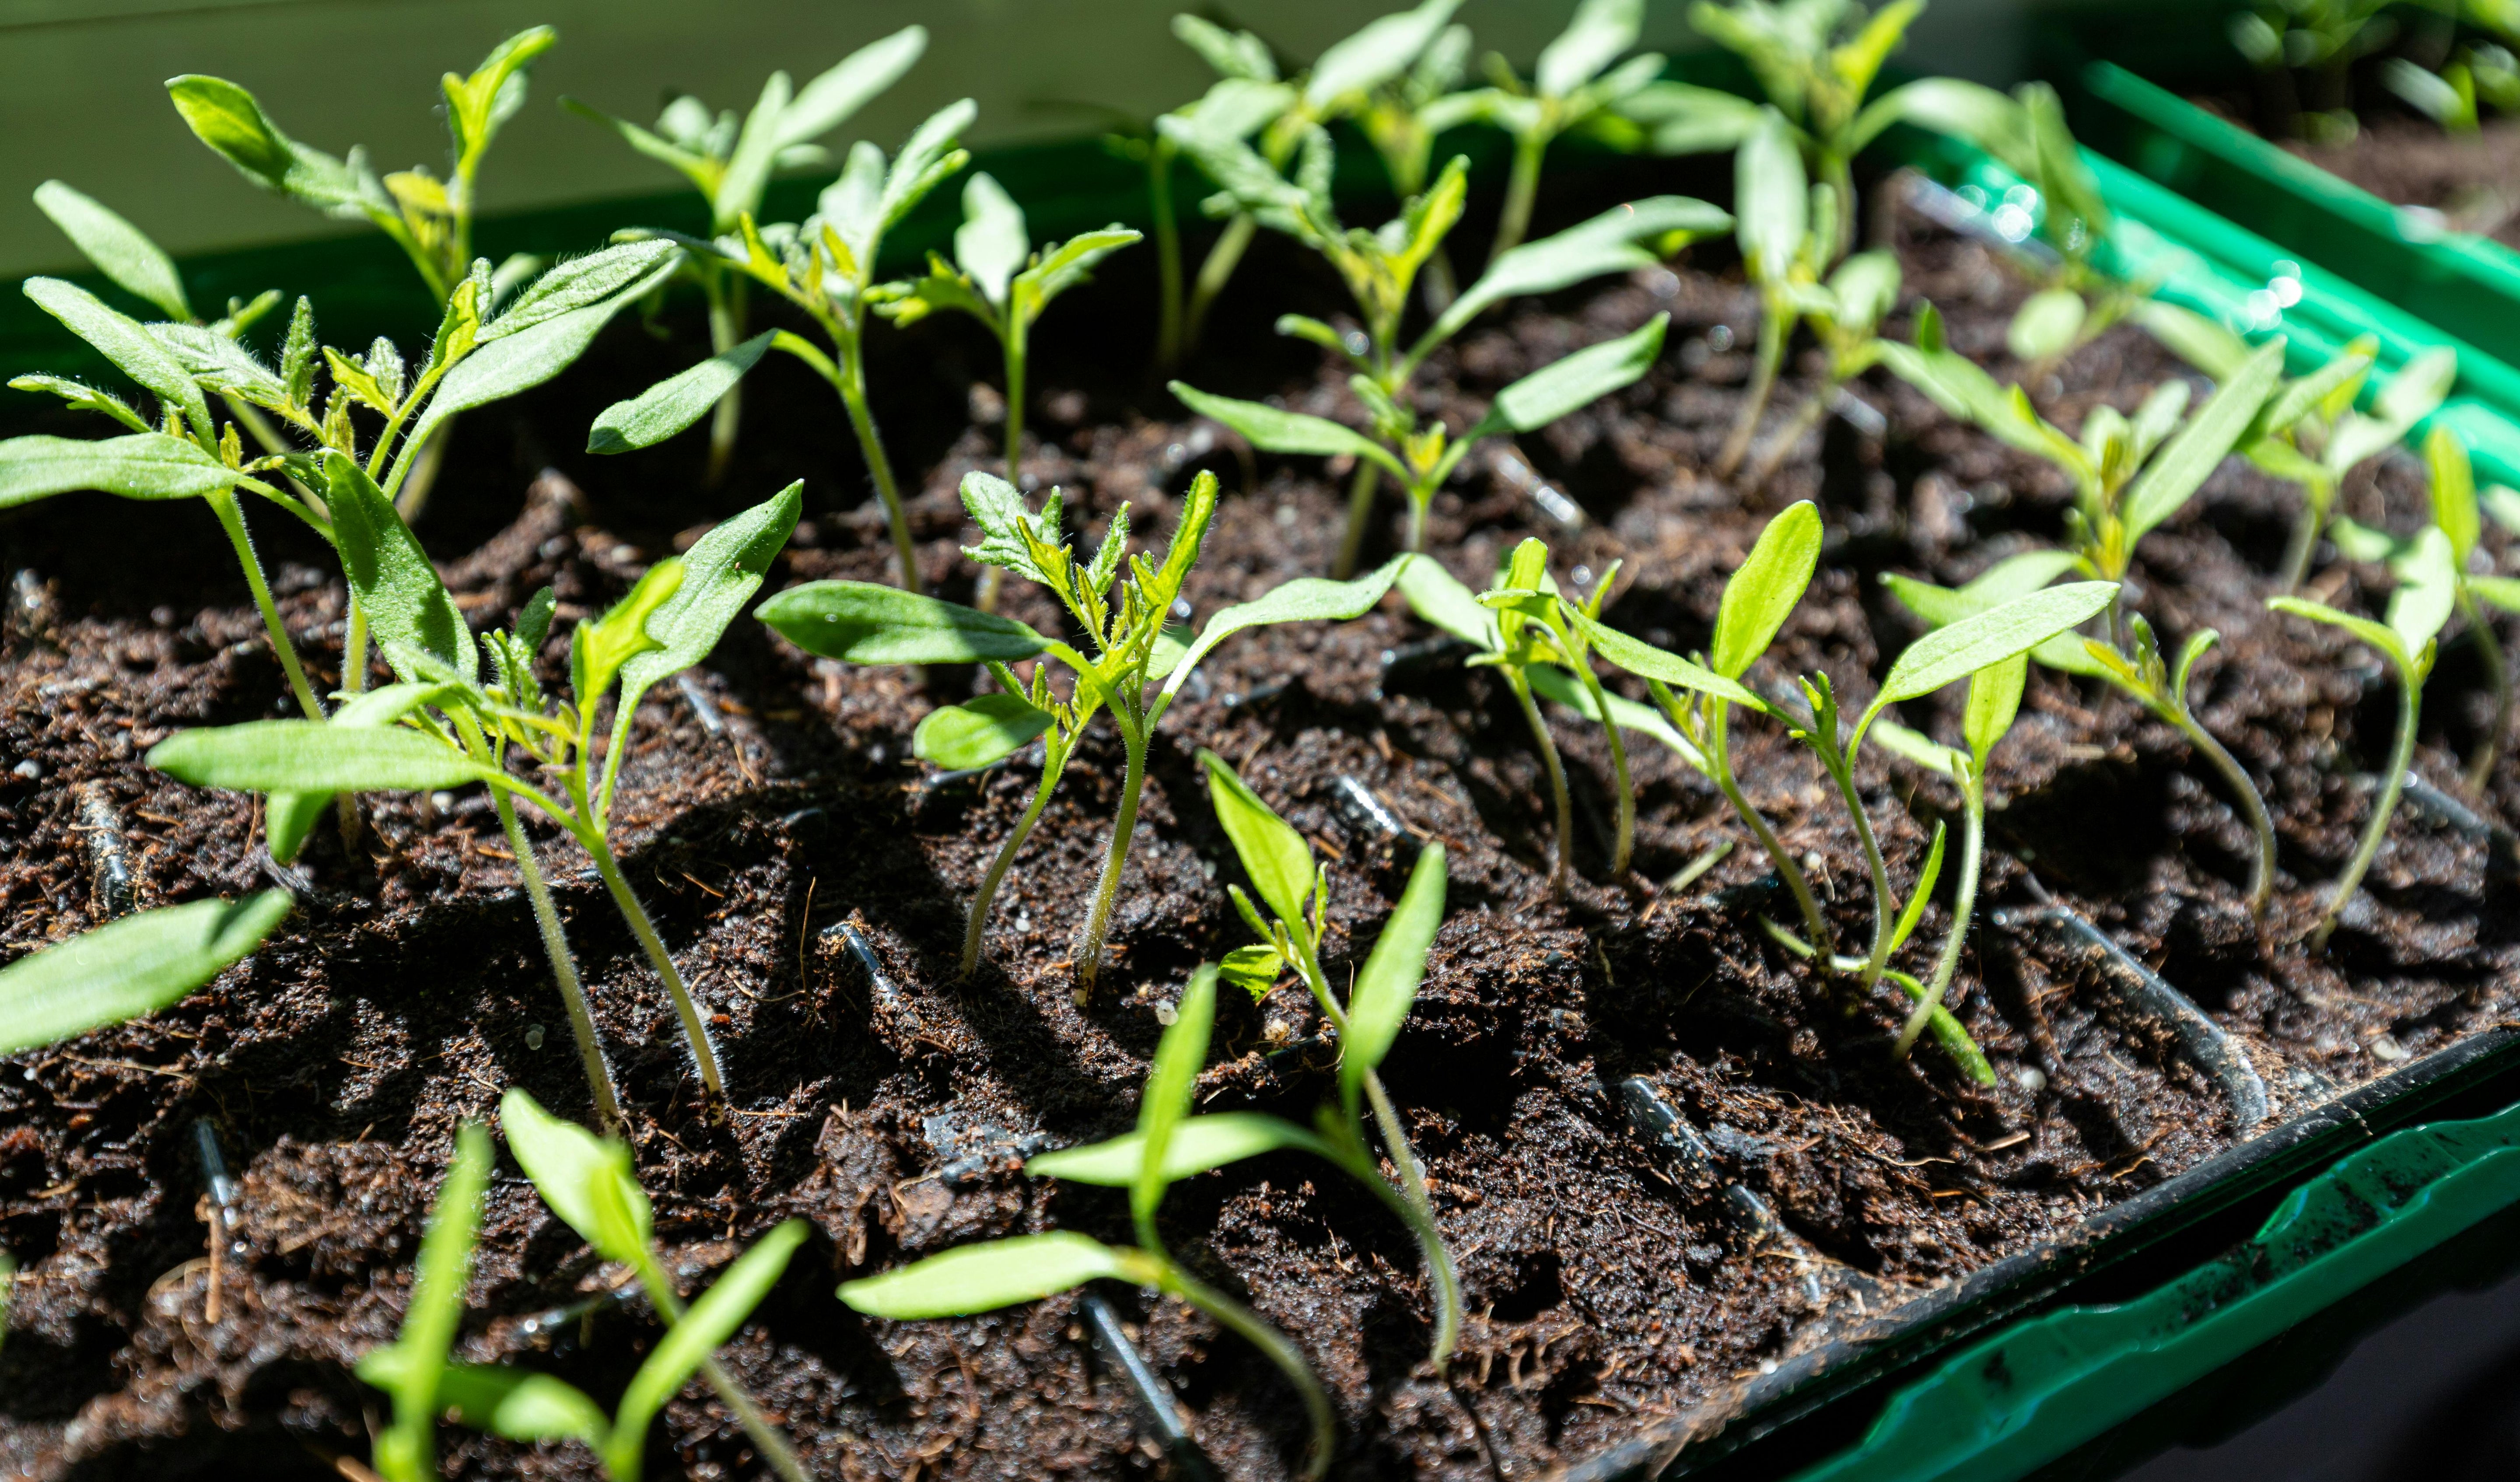
A cutting taken from a mother plant has no roots. A germinating seed has barely the beginnings of one. Neither can take up water from the substrate at a normal rate, which means both lose moisture through their leaves faster than they can replace it. Without intervention, the cutting wilts within hours and the emerging seedling dries out before the cotyledons fully open.
The humidity dome solves that imbalance. By trapping moisture above the tray, the dome creates an enclosed microclimate at 80 to 95 percent relative humidity, which dramatically slows water loss from the leaf surface. This basic temperature and humidity control buys the cutting or seedling enough time to develop the roots that will eventually take over the work of staying hydrated. ornamental nurseries have driven a lot of the modern dome design in this category, but the same physics apply to tomatoes, peppers, herbs, microgreens, leafy greens, and any other plant you might propagate indoors.
The catch is that the dome environment that helps in week one becomes a problem by week two. High humidity that sits too long invites fungal pathogens, encourages weak leggy growth, and slows the very root development you want. Knowing when and how to vent, and when to remove the dome entirely, is just as important as choosing the right dome in the first place.
What's in a Propagation Kit (And What You Actually Need)
A propagation kit, sometimes sold as a seed starter kit or a starter kit with a humidity dome, is a bundled starting set, but the core components are simple and you should know what each one does before buying.
Most propagation kits sold in Canada fall into a few configurations: a seed starter kit with grow light and heat mat included, a starter kit with humidity dome and tray only, or a starter tray with grow light bar mounted overhead. A kit with humidity vented domes and adjustable humidity gives you the most control across the propagation cycle, while a simpler dome-and-tray combo works well if you already have lighting set up.
Most kits include four parts: a 1020-size base tray (the standard 10-inch by 20-inch flat tray that almost every other propagation accessory is sized for), a humidity dome that fits over that tray, an insert that holds the propagation media (cells, plugs, or peat pellets), and the propagation media itself (rockwool plugs, peat pellets, or a soilless mix). Some kits add a heating mat, a thermometer or thermo-hygrometer, and a low-output grow light bar.
You do not need every accessory in every kit. The non-negotiables are the tray, the dome, and a propagation medium suited to what you are growing. Heat mats are valuable in cool basements and garages where ambient temperature drops below 70°F at night. A grow light becomes essential once seedlings emerge or cuttings begin to leaf out, because the dome itself filters light. Thermo-hygrometers are useful if you are precise about your conditions, but you can also rely on visual cues (leaf turgidity, condensation patterns, root visibility through transparent containers) once you know what to watch for.
The decision most growers get wrong is buying a kit with the wrong dome height. Standard domes sit two to three inches above the tray, which is fine for emerging seedlings or fresh cuttings. Tall domes (six to seven inches and up) cost more but accommodate larger cuttings, fast-growing varieties, and longer dome retention without leaf contact with the dome wall. If you plan to keep material under the dome for more than ten days, go tall.
Some setups use plant nursery pots covered with a humidity dome instead of the standard 1020 tray approach. Clear nursery pots with humidity work for individual transplanting or specimen propagation, but they offer less flexibility than the 1020 standard for batches of cuttings or seedlings, which is why most propagation systems still build around the 1020 tray.
Choosing the Best Humidity Dome for Your Setup
The right humidity dome depends on three things: vent design, dome height, and compatibility with the rest of your propagation gear. Most domes worth buying are made from clear or transparent plastic so light can reach the seedlings or cuttings inside, and you want a heavy-duty plastic with enough wall thickness to be durable across multiple propagation cycles. A clear humidity dome that warps or cracks after a few uses is not a saving.
Vent Design and Why It Matters
The humidity vents are the single most important feature on a propagation dome. Without vents, you cannot moderate humidity once roots begin to develop, and you almost guarantee mold within ten days. The best designs include two adjustable round vents on top, sized so you can dial adjustable humidity from fully sealed (90 percent and up) down to roughly 60 percent by opening both fully. Domes with no vents or single fixed slots offer almost no control and force you to remove the dome entirely as your only adjustment, which is too binary for most successful propagation.
Dome Height: Standard vs Tall
Standard domes work for windowsill seed-starting and short-cycle herbs. Tall domes (the SunBlaster NanoDome with Vents is one example carried in Canada) work better for cuttings, leggy seedlings, and any operation where the material stays under the dome for two weeks or more. The extra headroom prevents leaves from touching the dome wall, where condensation will sit on the leaf surface and accelerate fungal disease.

Compatibility with 1020 Trays
The 1020 tray (10 inches by 20 inches, the standard 10x20 format) is the universal base in propagation. Any humidity dome for 1020 trays should be sized to that footprint exactly and vented for 10 x 20 use. A clear seed starter dome 1020 tray covers the surface in two functions at once, humidifying and insulating, so the seal at the edge matters. Mixing dome and tray brands works as long as both are 1020-spec, but always confirm the dome's outer dimensions before ordering. A dome that sits half an inch off the tray edge defeats its own purpose because moisture escapes around the gap.
Cloning vs Seed Starting: Different Targets, Same Hardware
The same humidity dome and 1020 tray serve both cloning and seed starting, but the targets and timelines differ enough to be worth treating separately.
For cloning plants from cuttings, the cutting has no roots and a full leaf area transpiring water. Humidity needs to start at 90 to 95 percent and stay there for the first five to seven days. Vents stay closed initially. After a week, open one vent partly to allow some air exchange, then progressively open both as roots begin to form. Most cuttings are ready to come out from under the dome at two to three weeks, once you can see white root tips emerging from the propagation plug. According to Michigan State University Extension's guidance on moisture management during vegetative cutting propagation, optimising humidity during this window is a balancing act between preventing wilt and encouraging the slight stress that triggers root initiation.
For seed starting, the dome's role is shorter and is mostly about keeping the surface of the propagation medium consistently moist for seed germination. Conditions inside the dome are ideal for seed varieties that need warm soil to sprout, like peppers, tomatoes, and basil. Humidity targets are slightly lower (80 to 90 percent), and the dome typically comes off within seven to ten days of germination, as soon as the first true leaves appear. Leaving the dome on past that point produces leggy, weak seedlings that struggle to harden off later.
How to Use a Humidity Dome: Step by Step
Once you assemble the tray, propagation media, and dome, you have what is effectively a base indoor greenhouse mini-propagator on your bench. A humidity dome is simple, but a few decisions in the first hour determine whether you have a good propagation cycle or a fight against mold and stretched seedlings.
-
Pre-moisten your propagation medium before placing it in the tray. Rockwool needs to soak in pH-adjusted water (5.5 to 6.0) for at least an hour. Peat pellets need to expand fully under warm water. Dry medium under a humid dome is a mold magnet; pre-moistened medium is not.
-
Stick cuttings or sow seeds, then water once. A light watering settles the medium around the stem or seed. Do not flood the tray. Standing water plus dome humidity is a recipe for damping-off disease.
-
Place the dome with vents fully closed. This gives you full temperature and humidity control for the first 24 to 72 hours, the same insulating effect commercial greenhouse germination relies on. The room should be at 70 to 78°F, with ambient lighting on. A heat mat under the tray maintains substrate temperature in cooler rooms.
-
Open vents progressively from day three onward. For seeds, open one vent halfway as soon as you see emergence. For cuttings, wait until day five to seven, then crack one vent. By day ten, both vents should be at least half open.
-
Lift the dome briefly once a day. A 30-second lift releases stale air, drops condensation back to the medium, and prevents fungal spore buildup. Do this every day from day one, regardless of vent position.
After the first week, watch the leaf surface and the medium. If you see fuzzy growth on the medium, white film on the dome, or yellowing leaves, increase ventilation immediately. If you see condensation drying up entirely and leaves wilting between mistings, close vents partly and check the room humidity. The goal across the cycle is a steady downward ramp from 95 percent humidity in week one to 60 percent by the time the dome comes off.

A Reliable Starting Point for Your Propagation Setup
If you are putting together your first propagation system or upgrading from a basic windowsill kit, the SunBlaster NanoDome with Vents is a solid foundation piece. The 7-inch height accommodates both seedlings and cuttings without leaf contact with the dome wall, and the adjustable vents give you the daily control that determines whether you finish with healthy material or a tray of wilted starts. Pair it with a matching 1020 tray, like the SunBlaster Double Thick Seedling Tray with Holes (1020), and you have the durable base of a setup that suits both small home propagation and larger production runs. To explore the full range of Canadian-stocked propagation gear and propagation kits, BioFloral keeps the matching trays, plugs, lighting, and accessories in stock from coast to coast.