Are your plants looking "leggy" and stretching toward the ceiling, or are the top leaves starting to turn a ghostly white? These are the classic signs of improper light placement. In the world of indoor gardening, the distance between your canopy and your LEDs is the difference between a record-breaking harvest and a total crop failure.
While light is the "fuel" for photosynthesis, it follows strict laws of physics. Specifically, the Inverse Square Law means that even a few inches of difference can exponentially change the amount of energy your plants receive. For over 25 years, the experts at BioFloral have supported growers across Canada, from home hobbyists to large-scale commercial facilities, in mastering these variables. Backed by over 150 years of combined experience, our team understands that precision in the grow room leads to success at harvest.
In this comprehensive guide, we provide a helpful LED grow light distance chart and explore the science of light intensity to help you dial in your environment for maximum biomass production.
Why Lighting Distance is Your Most Critical Variable
To understand why LED grow light distance is so important, we must look at how light behaves in a closed environment. Unlike the sun, which is so far away that moving a few feet closer doesn't change the intensity, an artificial light source is highly sensitive to distance.
The Inverse Square Law in the Grow Room
The primary principle at play is the Inverse Square Law. This law states that the intensity of light is inversely proportional to the square of the distance from the source. In practical terms: if you move your light from 20 inches down to 10 inches, you aren't just doubling the intensity; you are potentially quadrupling it. This is why small adjustments on your hanging kit can have massive consequences for plant health.
The Consequences of Poor Placement
If your lights are too close, you risk "light burn" (photo-oxidation). This isn't necessarily heat damage; rather, it’s when the plant receives more photons than its metabolism can process, causing the chlorophyll to break down and leaving the leaves bleached white. Conversely, if the lights are too far, the plant will engage in "stretch" (etiolate), wasting energy on weak, spindly stems instead of developing robust foliage and flowers. Finding the "sweet spot" ensures your plants remain compact, healthy, and high-yielding.
The Definitive LED Grow Light Distance Chart (2026)
This chart provides general recommendations for high-quality, full-spectrum LED fixtures. It is important to remember that every fixture is different; always cross-reference these numbers with your specific manufacturer’s PAR map, as lens angles and diode density can influence the "throw" of the light.
|
Growth Stage |
Light Intensity (PPFD) |
Avg. Hanging Height |
Primary Goal |
|
Seedling / Clone |
100–300 µmol/m²/s |
24–36 inches |
Prevent stretching, avoid leaf fry |
|
Early Vegetative |
300–500 µmol/m²/s |
18–24 inches |
Establish root systems and leaf area |
|
Late Vegetative |
500–600 µmol/m²/s |
12–24 inches |
Tight nodal spacing, bushy structure |
|
Flowering / Bloom |
600–1000+ µmol/m²/s |
12–18 inches |
High bud density and resin production |
Understanding Your Plants' Light Diet: PAR, PPFD, and DLI
To use a distance chart effectively, you need to understand the metrics that professional growers use to measure success.
PAR (Photosynthetically Active Radiation)
PAR is not a measurement of "brightness" (lumens) but rather the range of light (400–700nm) that plants actually use for photosynthesis. Lumens are for humans; PAR is for plants. When you hang your lights, you are managing the delivery of this specific radiation.
PPFD (Photosynthetic Photon Flux Density)
PPFD measures how many PAR photons are hitting a square meter of your plant’s canopy every second. This is the most important metric for a grower. If your PPFD is too low, growth stalls; if it is too high, the plant’s biological "machinery" breaks down. A quality LED fixture will come with a "PAR Map" showing you the PPFD at various heights.
DLI (Daily Light Integral)
DLI is the total amount of light a plant receives in a 24-hour period. This is calculated by taking your PPFD and multiplying it by the number of hours your lights are on. Lowering your lights increases PPFD, which in turn increases DLI. During the flowering stage, you want the highest DLI possible without causing stress.
Managing Light Height by Growth Stage
Every stage of a plant's life requires a different "light diet." Using a fixed height from seed to harvest is a common mistake that limits yield potential.
Seedlings & Clones: The "Gentle" Phase
Seedlings are the "infants" of the plant world. Their tissues are thin, and their root systems are barely established. Excessive light at this stage will cause the plant to stop growing as a defense mechanism or simply shrivel up.
The Vegetative Stage: Building the Foundation
Once true leaves appear, the plant enters the vegetative stage. Now, the goal is to build biomass, the stems and leaves that will eventually support heavy flowers. You want enough intensity to keep the plant compact.
Close nodal spacing (the distance between branches) is vital. If your light is too far away during "veg," your plant will become "leggy." By maintaining a distance of 18–24 inches, you encourage the plant to grow outwards rather than just upwards, creating a bushy canopy that can be easily managed and trained.
The Flowering Phase: Pushing for Peak Yield
This is where the demand for energy peaks. To produce heavy fruits, dense buds, or high essential oil content, the plant needs a massive influx of photons.
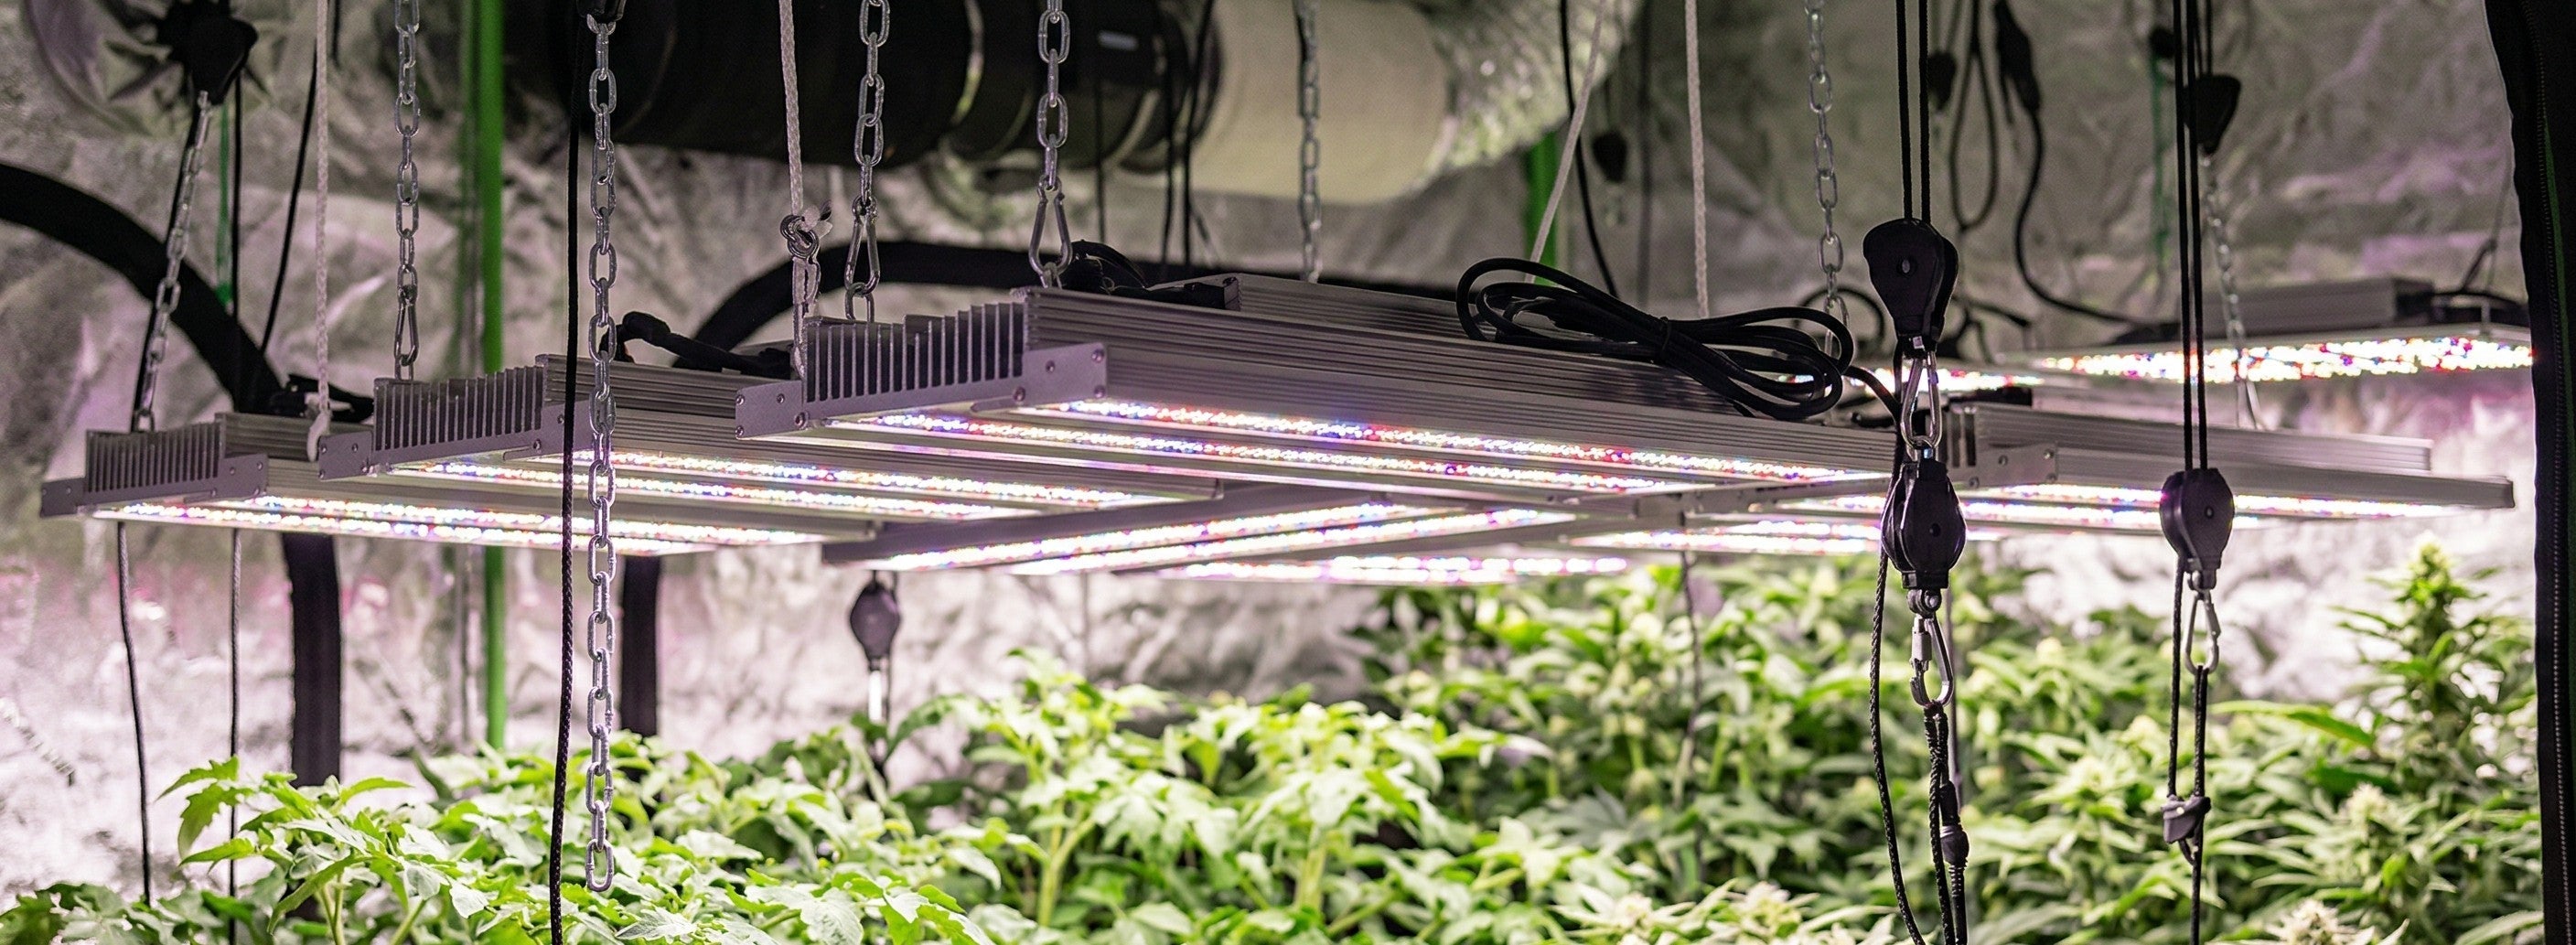
Many modern "multi-bar" LEDs allow for closer positioning (12–18 inches) because they distribute light over a larger surface area, reducing the risk of "hot spots" that were common with older LED designs. By bringing the lights closer during bloom, you ensure that even the lower branches receive enough energy to produce quality flowers.
How Different LED Designs Influence Hanging Height
Not all LEDs are created equal. The physical design of your fixture will dictate how you apply the led grow light distance chart.
Bar-Style LEDs vs. Quantum Boards
Multi-bar LEDs consist of several parallel bars of diodes. These are the current gold standard for professional grows because they offer the most uniform light distribution. You can often hang these closer to the canopy because the light is coming from many different angles, reducing shadows and intensity spikes.
Quantum boards are flat boards with hundreds of small diodes. They generally have a wide "throw" and are excellent for small tents. However, because the diodes are concentrated on a single board, they can sometimes create a central hot spot directly under the center of the board, requiring a slightly higher hanging height to allow the light to spread.
COB (Chip on Board) and High-Intensity Fixtures
COB LEDs are powerful, concentrated points of light. They act more like traditional high-intensity discharge bulbs and usually require a greater distance (24–30 inches) to allow the light to "spread" before hitting the canopy. If you hang a high-powered COB too close, you will almost certainly see bleaching in a concentrated radius directly under the light.
Environmental Synergy: Heat, Airflow, and CO2
Light distance does not exist in a vacuum. Your ability to hang lights closer is directly tied to your room's environment.
Managing Leaf Surface Temperature
While LEDs emit very little "radiant heat" compared to older technologies, they still generate heat from the driver and the diodes. If your lights are too close, they can raise the temperature of the leaf surface even if the room air feels cool. Always ensure you have adequate airflow. Using an Air King oscillating fan to move air across the top of the canopy helps break up "micro-climates" and prevents heat from building up on the leaves.
The Relationship Between Light Intensity and CO2
Plants can only process so much light. At standard atmospheric CO₂ levels, most plants "max out" their photosynthetic rate at a certain PPFD. If you move your lights closer to hit higher intensities (1200+ PPFD), you must supplement with CO₂.. Without extra carbon to process that energy, the light becomes a stressor rather than a fuel.
Troubleshooting: How to "Read" Your Canopy
Even with a chart, your plants will tell you if they are happy. Learning to "read" the leaves is an essential skill for any grower.
-
Light Bleaching: The tops of your buds or leaves turn white or pale yellow. This isn't "frost"; it's the destruction of chlorophyll. Raise your lights immediately.
-
The "Taco" Effect: If the edges of the leaves are curling upward, the plant is trying to reduce its surface area to protect itself from excessive light or heat.
-
Stretching: If the plant looks "thin" with long gaps between branches, lower your light or increase the intensity.
-
Slow Growth: If everything else (nutrients, pH, water) is perfect but growth is sluggish, the plant may simply need more light energy.
Maximize Your Success with BioFloral
Choosing the right light is only half the battle; positioning it correctly is where the magic happens. At BioFloral, we pride ourselves on more than just providing products; we provide the expert knowledge gained from decades of experience in the Canadian horticultural industry.
Whether you are looking for a precision SunBlaster LED light strip setup for your clones or commercial-grade Grow Light Science LED lights for a high-yield bloom, our curated selection of products from trusted brands has you covered.
Explore our full collection of LED lighting and electrical solutions today and take the first step toward your most successful harvest yet.